
DIY-Friendly Flooring: The Simple Installation Process of Floating Engineered Wood Floors
In the domain of home enhancement, few endeavors wield as powerful a transformational influence as the installation of new flooring. While the prospect of revamping your space may seem daunting, fear not, as advancements in flooring technology have ushered in a new era of simplicity and accessibility. Among the array of options available, floating engineered wood floors stand out as a DIY-friendly solution, offering both elegance and ease of installation. In this guide, we’ll explore the straightforward process of installing floating engineered wood floors, empowering you to embark on your home renovation journey with confidence.
Understanding Engineered Wood Flooring Manufacturers
Before purchasing the installation process, it is necessary to have an in-depth understanding of the engineered wood flooring manufacturers . These companies specialize in crafting high-quality engineered wood products, including versatile options like Versailles engineered wood flooring. Renowned for their expertise, craftsmanship, and commitment to sustainability, reputable manufacturers ensure that your flooring investment stands the test of time.
The Appeal of Floating Engineered Wood Floors
Floating engineered wood floors have gained popularity for their durability, versatility, and ease of installation. Unlike traditional hardwood floors, which require nailing or gluing to the subfloor, floating floors are installed by interlocking the individual planks, eliminating the need for adhesives or fasteners. This innovative installation method not only simplifies the process but also allows for greater flexibility and convenience, making it an ideal choice for DIY enthusiasts and seasoned renovators alike.
Preparing for Installation
Start by verifying that the subfloor is clean, level, and devoid of any debris or flaws that could impede the installation. If needed, utilize a self-leveling compound to rectify any uneven sections and ensure it dries thoroughly before continuing.
Next, acclimate the engineered wood planks to the room’s environment by storing them indoors for at least 48 hours prior to installation. This helps prevent warping or expansion of the wood once it’s laid down, ensuring a seamless and long-lasting result.
Step-by-Step Installation Guide
Lay Underlayment: Begin by placing a suitable underlayment material, such as foam or cork, to offer cushioning and safeguard against moisture. Trim the underlayment to match the dimensions of the room, ensuring it fits snugly and securely along the edges.
Establish Starting Point: Determine the starting point for installation, typically along the longest wall in the room or in the direction of incoming natural light. Employ spacers to establish an expansion gap between the flooring and the walls, facilitating natural movement and averting buckling.
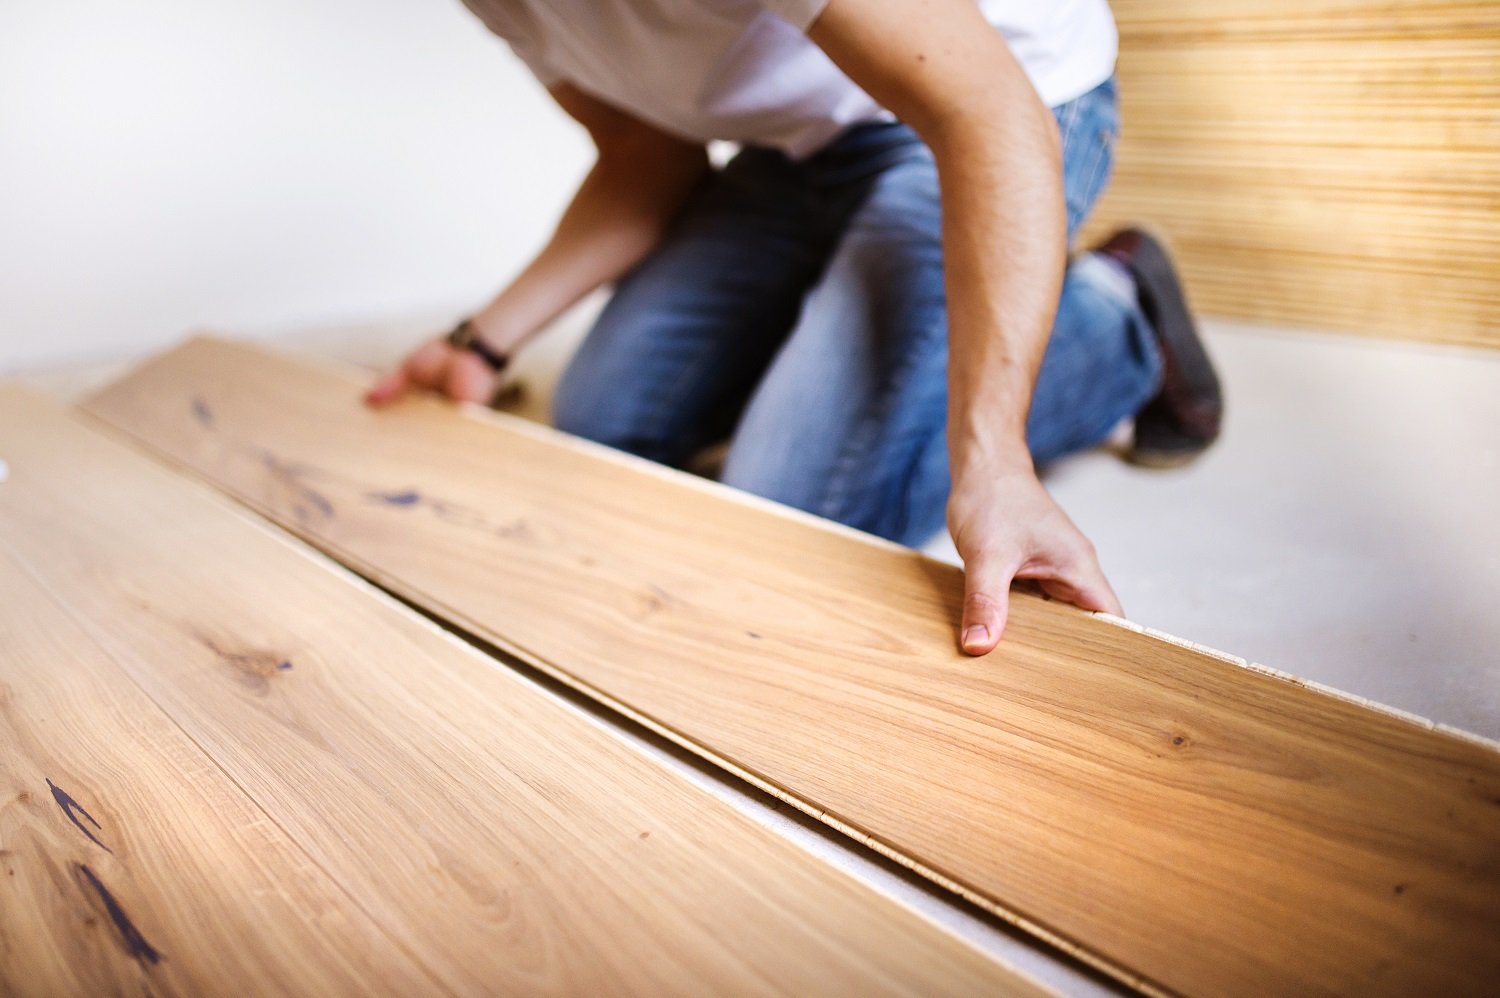
Interlock Planks: Start by interlocking the engineered wood planks, commencing from the selected starting point and progressing across the room row by row. Align the tongue and groove edges of each plank, ensuring a tight fit and smooth transition between rows.
Cutting Planks: Upon reaching the end of a row or encountering obstacles like doorways or corners, measure and trim the planks accordingly using a saw or utility knife. Ensure to leave a slight expansion gap around obstacles to facilitate movement.
Staggering Planks: To achieve a natural and visually appealing look, stagger the end joints of the planks in adjacent rows, avoiding repetitive patterns and creating a random appearance.
Finishing Touches: Once all the boards are installed, remove the spacers and attach matching trim, such as baseboards or quarter rounds, to hide expansion gaps around the perimeter of the room. Utilize a suitable adhesive or finishing nails to secure the trim, ensuring a smooth transition between the flooring and walls.
Benefits of Versailles Engineered Wood Flooring
For those seeking a touch of elegance and sophistication, Versailles engineered wood flooring offers a timeless and luxurious option. Inspired by the intricate patterns found in historic European palaces, Versailles flooring adds a sense of grandeur and refinement to any space. Crafted by skilled artisans and engineered for durability, Versailles flooring combines the beauty of hardwood with the practicality of modern construction techniques, resulting in a stunning and enduring flooring solution.
Conclusion
Embarking on a flooring renovation project doesn’t have to be daunting, especially with the simplicity and versatility of floating engineered wood floors. By partnering with reputable engineered wood flooring manufacturers and following a straightforward installation process, you can achieve professional-quality results with minimal hassle. Whether you opt for traditional planks or explore the elegance of Versailles engineered wood flooring, DIY-friendly flooring solutions empower you to transform your space with style and confidence.


