
How to Fix Leaking Taps
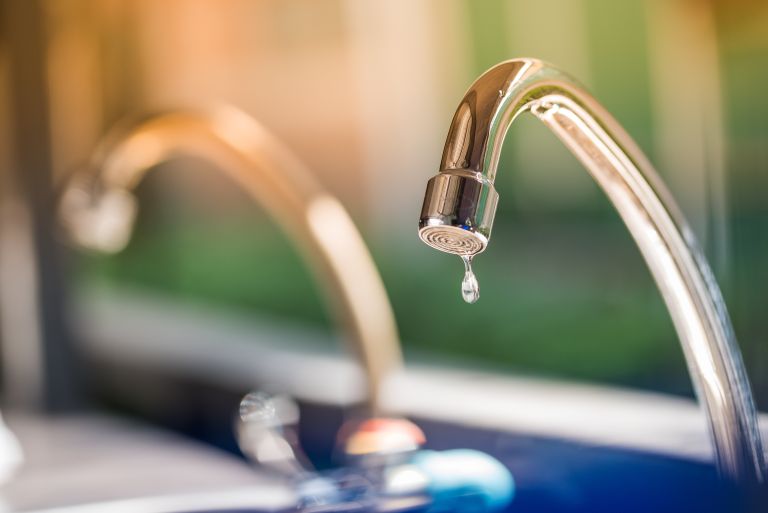
Leaking taps have become a common thing. When you sleep at night or when the house is silent, you will hear the clear sound of dripping water. You need to fix the tap if the water is leaking immediately. Wasting water is not a good thing. There are billions of people who don’t have access to clean water.
You can fix the leaking tap using two methods. The first thing you can do is call a professional plumber to fix. Another thing you can do is DIY it. Nowadays most of the people go with DIYs if the problem is minute. However, if the leakage is due to another problem, you need to call a plumber.
If you don’t have the tools or don’t know what to do, it is wise to call a plumber. You might aggravate the problems and worsen it.
Steps to Fix Leaking Taps
If you are facing a common leaking tap problem, you can follow these steps to fix it easily.
Step 1: Prepare All the Things
You need to prepare the things you need in advance before you proceed. First, you need to collect the right tools. You also need to check the problems behind the leak. You will need a screwdriver and wrench. Before you open the drain, make sure you turn off the valve. It will avoid water to follow the sink. After the water stops completely, you can start with the dismantling.
Step 2: Dismantle the Faucet:
Once you have done all the preparations, you need to start with dismantling. You need to follow the dismantling steps as per the type of the faucet. You need to remove the faucet’s handle from its place. You might need a screwdriver, wrench and spanner to do it. Most of the time, people have compression faucet. There can also be ball faucets, disk faucets and cartridge faucet.
Step 3: Repair the Faucet:
This is the main step. In this step, you need to make repairs. To repair the leakage problem, you need to remove the screws. The screws are on the faucet. You also need to remove hot and cold embellishments. It will help you to remove the handle. After that, you need to remove the nut. It is placed on the top. Once it is done, you can start removing the washer sheet. This sheet is made of rubber. It is the main cause of leakage. If the sheet is damaged, you need to replace it. You can remove the old rubber sheet and place a new one. The new sheet should be of the right size. To remove the old sheet, you need to cut it with a knife. To make the new sheet last for a long time, you can use lubricant before placing it in the faucet.
Step 4: Reassemble the Parts:
Once you make the repairs, you need to reassemble all the parts of the faucet. You can use tools like a screwdriver or a wrench to do it. Once you reassemble all the parts of the faucet and fix it in place, try turning it on. You need to turn it on slowly. After the repair, it leak might stop. However, if the water is still leaking, you need to reassemble the parts again. If it leaks again, there might be some other problems. You can call a professional plumber to look into the matter.
These are the simple steps; you need to follow to fix a leaking tap. These tools are easily available in any hardware store. You can but these tools and follow the steps to repair the leakage yourself.


